How to Start a Podcast: The Ultimate Beginner’s Guide
You have a story to tell, a unique perspective to share, or an area of expertise that can genuinely help others. You know that starting a podcast is one of the most powerful ways to reach people. Yet, if you are like most aspiring creators, you might be staring down a daunting pile of unknowns. What should your show be about? What equipment do you actually need to buy? Do you need a professional recording studio, or can you just use your phone? And perhaps most importantly, how much is all of this going to cost?
The prospect of launching a new podcast can feel a little overwhelming when you start searching for answers online. You will quickly find ten different experts giving you ten conflicting opinions on the “perfect” pro-level setup. But the reassuring truth is that starting a podcast is much more accessible than it looks from the outside.
You can launch a podcast for essentially nothing using just the smartphone already in your pocket and a free hosting platform. If you want to step up your sound quality, a solid beginner setup—which typically includes a reliable USB microphone, a pair of headphones, and free editing software—usually runs about $150 to $300. In fact, total startup costs generally land somewhere between $70 and $800 before you ever need to consider investing in higher-end broadcast gear.
The real challenge for most beginners is not the equipment. As nearly every seasoned podcaster will tell you, the true hurdles are consistency and content planning. The creators who succeed are the ones who record four or five episodes before they ever go live, and then publish on a sustainable, consistent schedule.
However, there are two specific friction points where beginners genuinely get stuck, and which generic gear lists often gloss over: getting clean, echo-free audio, and managing the complexities of video production. Recording a great-sounding conversation is incredibly difficult in a standard office or living room because of acoustic bounce. And if you want to record a video podcast—which is exactly where the audience growth is heading today – juggling multiple cameras, lighting setups, and angles can quickly become a technical nightmare.
This guide is designed to give you one clear, ordered path from concept to launch. We will walk you through the practical, budget-friendly DIY approach, while also showing you how professional production spaces like Drake Media Studios can eliminate those technical headaches entirely. Whether you are recording your first audio files in a quiet closet or walking into a state-of-the-art studio on Long Island, this step-by-step guide will help you launch your show with confidence.
The Quick Start Podcast Checklist
Before we dive into the comprehensive details, here is a helpful summary checklist of the steps required to launch your new podcast. You can use this as a roadmap as you build your show.
Phase 1: Planning and Strategy
- Define your podcast’s core concept, niche, and target audience.
- Choose your format (solo, co-host, interview) and ideal episode length.
- Decide if you will produce an audio-only show or a video podcast (vodcast).
- Choose a memorable podcast name and design simple, readable cover art.
Phase 2: Equipment and Space
- Select your recording equipment based on your budget ($0, $150–$300, or $1,000+).
- Secure a quiet, acoustically treated recording space, or book a professional studio to bypass audio and video friction points entirely.
Phase 3: Recording and Editing
- Plan, outline, and record a batch of four to five episodes before your launch date.
- Edit your audio files using simple software to remove long pauses and balance the sound.
- Add a standard intro and outro to give your show a polished, professional feel.
Phase 4: Hosting, Launch, and Promotion
- Choose a podcast hosting platform to generate your RSS feed.
- Submit your show to major directories like Apple Podcasts and Spotify.
- Cut short-form video clips from your episodes to promote your show on social media.
Step 1: Define Your “Why” and Your Concept
The most successful podcasts—the ones that build loyal, emotionally engaged audiences—do not start with microphones. They start with a clear, compelling purpose. Before you worry about audio interfaces or RSS feeds, you need to firmly establish the foundation of your show.
Identify Your Unique Angle
There are millions of podcasts available today, covering every conceivable topic from true crime to hyper-niche hobbyist communities. To stand out, you need to bring a specific angle that only you can provide. Do not just start a “business podcast.” Start a podcast about how first-time retail owners navigate the realities of signing a commercial lease. Do not just start a “wellness podcast.” Start a podcast focusing on physical mobility for people recovering from major injuries.
Your unique angle is your differentiator. When listeners browse through podcast directories, they are looking for specific answers, inspiring stories, or entertaining conversations that resonate with their exact interests. The more specific you are in the beginning, the easier it will be to find your initial audience.
Understand Your Listener
Who are you speaking to? When you sit down to record, you should picture one specific person on the other side of the microphone. What are their pain points? What questions do they have? What kind of inspiration or information do they need to hear today?
If you are a business owner creating a show to build authority in your industry, your audience consists of your ideal clients. You should design your topics around their most common questions. If you are starting a show to share stories of resilience and personal growth, your audience is likely seeking an uplifting escape from a generally negative media landscape. Speak directly, warmly, and authentically to them.
Naming Your Show and Creating Cover Art
Your podcast name and cover art are the very first things a potential listener will see in an app like Spotify or Apple Podcasts.
- The Name: Keep it clear, easy to spell, and descriptive. Clever titles are fun, but if a new listener cannot immediately tell what your show is about, they will scroll past. If your show is about marketing, the word “marketing” should ideally be in the title.
- The Cover Art: Podcast artwork displays very small on mobile phone screens. Use large, legible fonts, contrasting colors, and minimal text. Do not clutter a small square with long subtitles or complex imagery.
Step 2: Choose Your Format and Episode Length
Once your concept is locked in, you need to decide how the show will actually sound. Consistency is the hallmark of a great media presence, and listeners like to know what they are getting when they hit play.
Popular Podcast Formats
The Solo Podcast A solo show features just you, speaking directly to the listener. This format establishes deep, personal authority and is incredibly easy to schedule, as you do not have to coordinate with anyone else’s calendar. However, it can be creatively taxing. You are responsible for carrying the energy of the entire episode without anyone to bounce ideas off of.
The Co-Hosted Podcast Having a dedicated co-host brings natural banter and shared responsibility. The conversation flows organically, and you can divide the research and production workloads. The challenge here is commitment; both hosts must be equally dedicated to the recording schedule and the long-term vision of the project.
The Interview Podcast This is the most popular format for a reason. Interviewing guests allows you to constantly introduce fresh perspectives to your audience. It also provides built-in cross-promotion, as your guests will likely share their episode with their own followers, bringing new listeners to your platform. The challenge is that scheduling guests, preparing thoughtful questions, and conducting genuine, unscripted interviews takes significant skill and preparation.
How Long Should an Episode Be?
One of the most common questions from beginners is about ideal episode length. The answer is simple: your episode should be exactly as long as the content demands, and not one minute longer.
If you are delivering a tight, actionable tip about personal finance, 15 minutes is perfect. If you are doing a deep-dive interview exploring a guest’s lifelong story of triumph, an hour or more might be necessary. While the average commute time is often cited as the “ideal” 30-to-45-minute benchmark, the truth is that listeners will happily consume a two-hour podcast episode if the content is captivating, and they will abandon a 10-minute episode if it is boring. Choose a length you can sustain on a regular basis.
Step 3: Audio or Video? (The Reality)
For over a decade, podcasting was strictly an audio medium. You recorded an MP3, uploaded it, and people listened on their commute or while walking the dog. Today, the landscape has completely shifted. If you are starting a show now, you must decide whether to create an audio-only podcast or a video podcast (often called a vodcast).
Video is where the audience and the growth are heavily concentrated. YouTube has become the top podcast discovery platform in the world, surpassing traditional audio-only directories. Many listeners now prefer to watch their favorite shows on a screen, enjoying the visual cues, facial expressions, and studio atmosphere.
Starting with video gives you a massive advantage in reach and discoverability. Even if a portion of your audience still prefers to download the audio-only version for their commute, having a video component allows you to participate in the visual ecosystem. For a deeper dive into deciding which path is right for your specific goals, you can read our comprehensive Podcast vs. Vodcast guide.
More importantly, video is essential for promotion. As we will discuss later in the launch section, cutting your full-length episodes into short, engaging video clips is currently the highest-ROI strategy for finding new listeners. If you do not have video, your promotional options on highly visual platforms are severely limited.
If you choose the video route, be aware that it introduces new technical requirements. You are no longer just thinking about microphones; you have to plan for cameras, lighting, set design, and visual editing. This added complexity is exactly why many serious creators ultimately turn to professional production spaces to handle the heavy lifting.
Step 4: Budget and Equipment (What Do You Actually Need?)
The fear of expensive equipment stops many talented people from ever recording their first episode. Let’s break down the realistic costs of starting a podcast, proving that there is a viable entry point for absolutely every budget.
The $0 Budget Path: Using What You Have
Can you start a podcast for free? Absolutely. You can record your first podcast using just your smartphone. Modern phones have surprisingly capable microphones built-in. By using a free voice recording app (like Voice Memos on iOS) and speaking clearly into the device in a quiet space, you can capture perfectly acceptable audio.
You can then use free editing software on your computer, like Audacity or GarageBand, to trim your audio files, and sign up for a free podcast hosting plan to get your show on Apple and Spotify. Many highly successful, long-running shows began exactly this way—recorded in a walk-in closet for zero dollars to test the waters before the host decided to invest money.
The $150 to $300 Path: The Solid Beginner Setup
If you have a small budget, a $150 to $300 investment will drastically improve your audio quality and make your show sound much more professional.
The Microphone Do not use your laptop’s built-in microphone. It will sound distant, echoey, and unprofessional. Instead, invest in a dynamic USB microphone. Popular beginner choices include the Samson Q2U or entry-level models from Audio-Technica. These mics cost between $70 and $100 and plug directly into your computer’s USB port, requiring no additional technical gear. A dynamic microphone is highly recommended because it is less sensitive to background noise compared to condenser microphones, making it much more forgiving if you are recording in a less-than-perfect room.
Headphones You need closed-back headphones (which just means headphones that do not leak sound). If you listen to a guest through your computer speakers while recording, your microphone will pick up their voice coming from the speakers, creating a terrible echo loop. A basic pair of $50 studio headphones will solve this problem instantly.
Accessories Spend $15 on a foam pop filter or wind screen. This simple piece of foam stops the harsh bursts of air caused by “P” and “B” sounds (called plosives) from ruining your audio. A basic desktop mic stand or a cheap boom arm ($25) will help you position the microphone correctly, which should be about three to four inches from your mouth.
The $1,000+ Path: The Pro-Level Setup
As your show grows, or if you are a business looking to sound like a premium media brand from day one, you may move into pro-level territory. This involves XLR microphones (like the industry-standard Shure SM7B), a dedicated audio interface to convert the analog microphone signal into a digital file for your computer, premium boom arms, and professional-grade cables.
If you are adding video at this level, you are also looking at purchasing 4K mirrorless cameras, lenses, key lights, fill lights, and video switching equipment. The cost can quickly balloon well past several thousand dollars.
This financial reality is exactly why many creators realize that instead of buying, storing, and troubleshooting thousands of dollars worth of equipment, they are better served by renting professional infrastructure.
Step 5: The Recording Space (Solving the Two Biggest Friction Points)
You can buy the most expensive microphone in the world, but if you record in a room with hardwood floors, bare walls, and a high ceiling, your podcast will sound like it was recorded in a bathroom.
Beginners almost always underestimate the importance of the recording environment. When starting out at home, you will quickly encounter the two biggest friction points of podcast production: acoustic bounce and video complexity.
Friction Point 1: Bad Acoustics
Sound waves bounce off hard surfaces. When you speak, your voice goes directly into the microphone, but it also bounces off your desk, the walls, and the floor, hitting the microphone a fraction of a second later. This creates a hollow, distracting echo that makes a podcast exhausting to listen to.
If you are following the DIY path, you have to find ways to absorb that sound. This means recording in small rooms filled with soft materials. Walk-in closets full of clothing are famously great DIY recording spaces. Other tricks include putting heavy rugs on the floor, hanging thick blankets on the walls, or putting pillows around your microphone. It is not glamorous, but it works to dampen the background noise and echo.
Friction Point 2: The Video Headache
If you want to create a video podcast to capture the massive audience on YouTube, setting up your space becomes exponentially harder. Now, sitting in a dark closet with blankets on the walls is no longer an option.
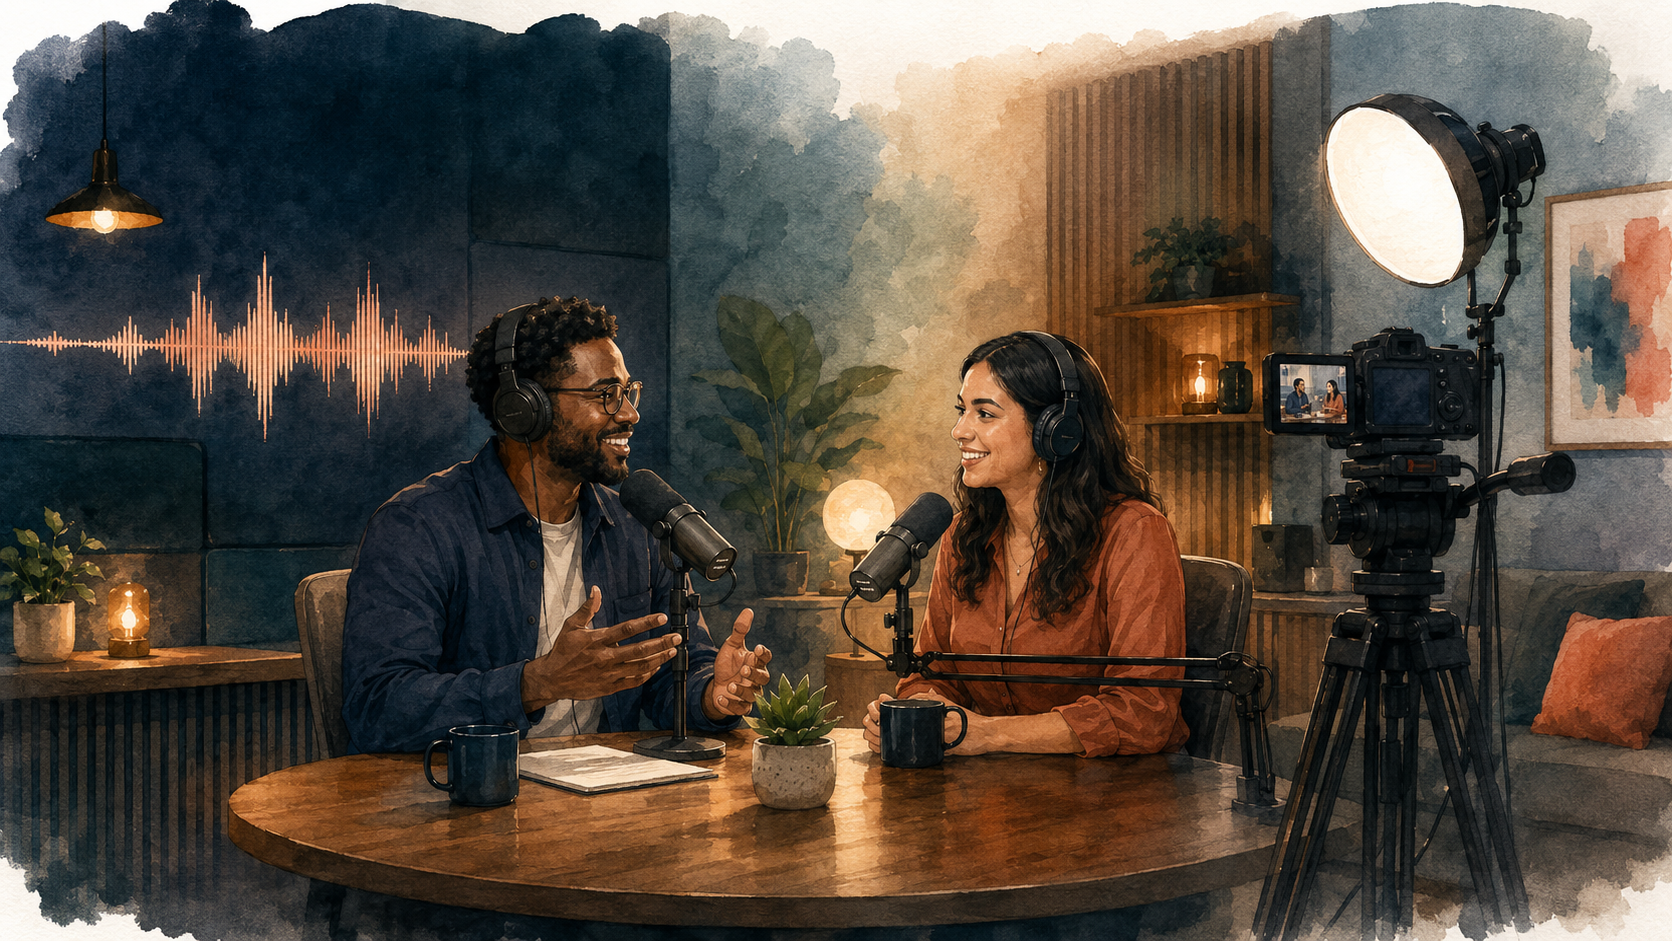
You need a space that looks aesthetically pleasing on camera. You have to ensure that your background is tidy and on-brand. You have to position ring lights or softboxes so you do not look washed out or hidden in shadows. If you have an in-person guest, you now need a minimum of two or three cameras to capture different angles (wide shot, host close-up, guest close-up), which means you need the technical knowledge to sync all those video and audio files together later.
The Professional Shortcut: Why Creators Turn to Studios
Fighting room echo and constantly setting up and tearing down video equipment leads to massive creator burnout. This is where booking a professional studio becomes the ultimate shortcut to pro-level quality.
If you want to sound and look professional from episode one without buying any equipment, dealing with lighting, or fighting room acoustics, a broadcast-ready facility is the answer. For creators, business owners, and agencies in the New York metro area and Long Island, Drake Media Studios provides exactly this infrastructure.
Drake Media Studios is a working broadcast facility—not just a rented room with lights. Our 8,200-square-foot studio is located within the NYC 30-mile zone and is the exact same Telly Award-winning space where The Donna Drake Show is produced. When you book a session here, you bypass all the beginner friction points.
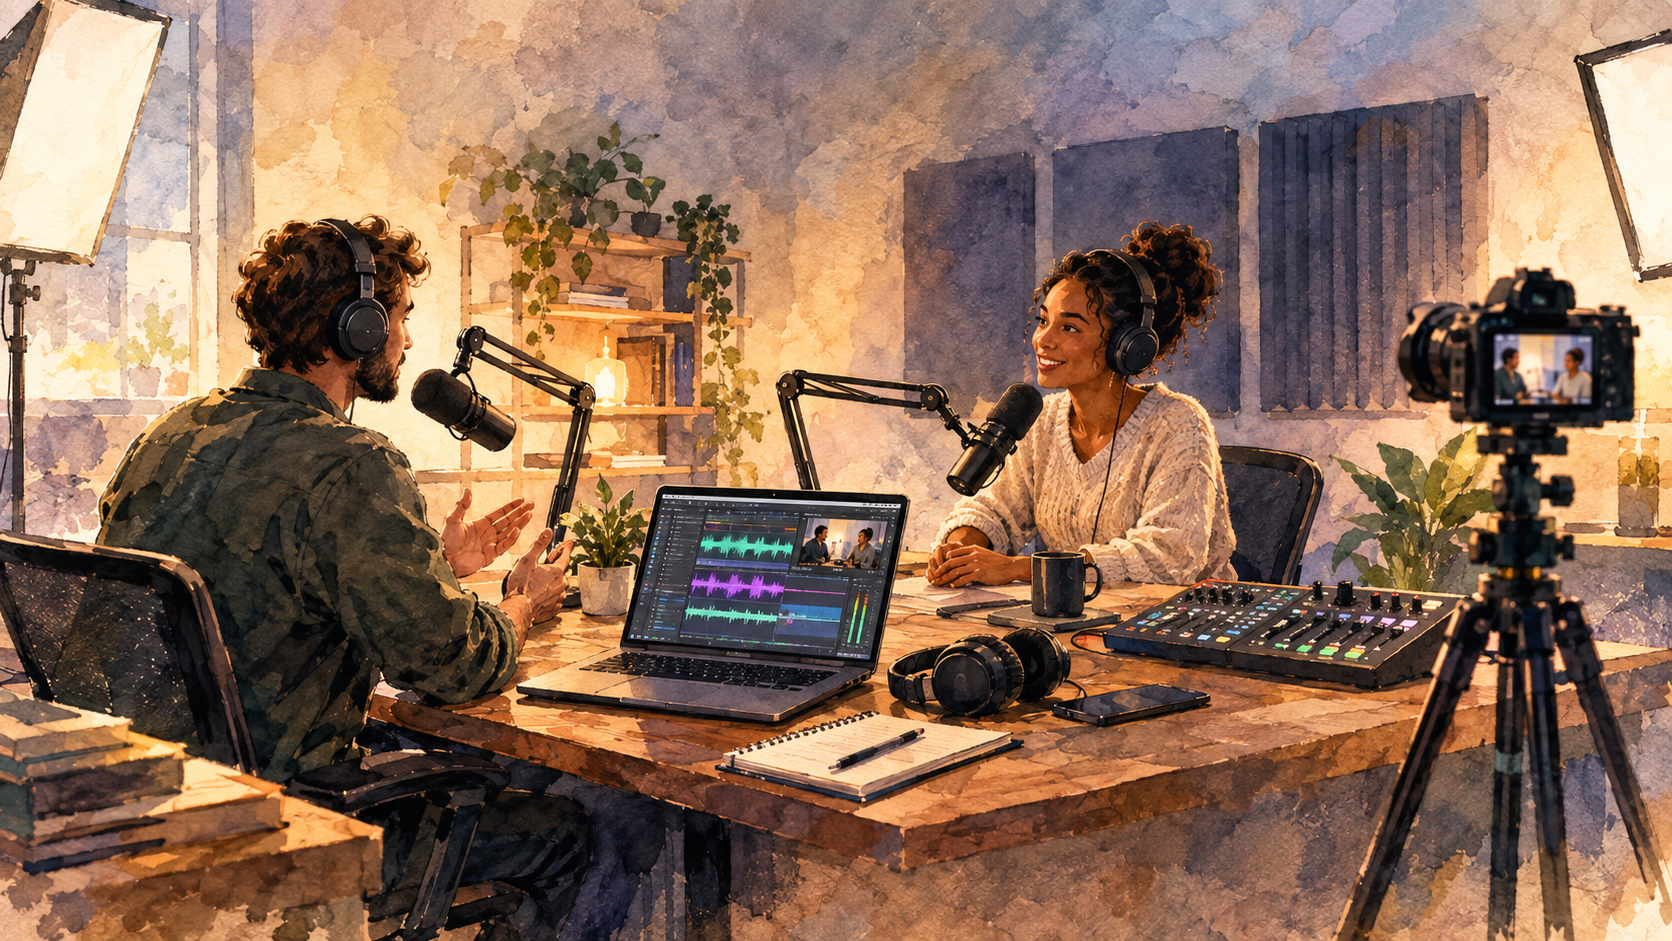
You do not have to worry about sound dampening; our spaces are acoustically treated for pristine, broadcast-quality audio. You do not have to worry about camera angles; our multi-camera vodcast setups are dialed in, perfectly lit, and ready to roll. You simply walk in, sit down, put on your headphones, and focus entirely on having a great conversation. We handle the technology so you can focus on the story.
Step 6: Recording Your First Episodes (Batching & Consistency)
Whether you are recording in a padded home office or sitting under the professional lights at a studio, the actual recording process requires strategy. The single most useful pro tip for beginners—the one that will save your show from fading away after a month—is to utilize the power of “batching.”
What is Batching?
Batching means recording multiple episodes in a single day or over a single weekend. Most successful new shows record four to five full episodes before they ever announce their launch date to the public.
There is a well-known phenomenon in the industry called “podfade.” This happens when a creator launches with just one episode, feels the immense pressure to immediately record, edit, and publish episode two the following week, falls behind, gets stressed, and simply stops making the show by episode three or four.
Having a buffer of four to five completed episodes gives you breathing room. If you get sick, if a guest cancels at the last minute, or if life simply gets busy, you still have new content ready to publish on schedule. Your audience expects consistency; a consistent media presence they can return to week after week is how trust is built.
The Recording Workflow
When you sit down to record, structure your session efficiently.
- Do a Sound Check: Always record a 30-second test clip before you start the real interview. Listen back to ensure the microphone is capturing your voice clearly and that the volume levels are not distorting.
- Use an Outline, Not a Script: Do not read your podcast word-for-word from a piece of paper. Listeners can always tell when content is highly scripted, and it strips away the authenticity they crave. Instead, use a bulleted outline to keep yourself on track while allowing for natural, organic conversation.
- Leave Pauses for Mistakes: If you stumble over a sentence or lose your train of thought, do not panic. Simply take a breath, pause for three solid seconds in total silence, and start the sentence over. That visual gap of silence in the audio waveform will make it incredibly easy to find and remove the mistake during the editing phase.
Step 7: Editing and Post-Production
Once you have finished recording, you are left with raw audio and video files. Post-production is the process of polishing those raw files into a finished product that respects your listener’s time.
Audio Editing Basics
If you are taking the DIY route, free software like Audacity (for PC or Mac) or GarageBand (for Mac) provides everything a beginner needs. Editing a podcast does not require you to be a sound engineer. Your primary goals are simple:
- Trim the ends: Remove the awkward silence at the beginning before you started speaking, and the fumbling at the end when you reached to turn off the recorder.
- Remove major mistakes: Cut out prolonged silences, major stumbles, or interruptions (like a dog barking or an ambulance driving by). Do not obsess over removing every single “um” or “uh.” A few filler words sound natural and conversational. Stripping all of them out can make the dialogue sound robotic.
- Volume leveling: Ensure that you and your guest are at relatively the same volume. You do not want your listeners to have to constantly turn their car radio up and down to hear different people speaking.
Adding Intro and Outro Music
A standard intro and outro instantly give a new podcast a layer of professional credibility. This usually consists of 15 seconds of royalty-free music fading in, accompanied by a quick voiceover stating the name of the show, who you are, and what the listener can expect.
Always use properly licensed, royalty-free music. You cannot use a popular song from a famous artist for your intro. If you do, your podcast host or directories like Apple and Spotify will flag the copyright violation and pull your show down immediately.
If editing software feels entirely out of your wheelhouse, this is another area where a production partner is invaluable. Many creators choose to utilize the post-production editing suites at a facility to ensure their audio is mixed, mastered, and polished by professionals with real broadcast TV experience.
Step 8: Podcast Hosting and Directories
You have a polished, edited MP3 audio file. Now, how do you actually get it onto Spotify, Apple Podcasts, and the phones of listeners around the world? You do this through a podcast hosting platform.
Understanding Podcast Hosts
A common misconception is that you upload your audio files directly to Apple or Spotify. You do not. Instead, you sign up for a podcast hosting service. Platforms like Buzzsprout, Podbean, Captivate, or Spotify for Creators are designed specifically to store your large audio files.
When you upload your episode, your title, your show notes, and your cover art to your host, the platform generates something called an RSS feed. An RSS (Really Simple Syndication) feed is essentially a line of code—a digital delivery truck.
Submitting to the Directories
Once your host gives you your unique RSS feed link, you take that link and submit it to the major podcast directories.
- You create a free Apple Podcasts Connect account and paste your RSS feed there.
- You log into Spotify for Podcasters and paste your RSS feed there.
- You do the same for Amazon Music, Google (via YouTube), and others.
You only have to do this submission process once. Once Apple and Spotify have your RSS link, they constantly check it for updates. From that day forward, whenever you upload a new episode to your podcast host, it automatically pushes out to every directory in the world, usually within minutes.
Most hosting platforms charge a small monthly fee (usually between $10 and $20) based on how many hours of audio you upload per month. They also provide you with vital analytics, showing you how many people are downloading your show, which cities they are listening from, and which apps they are using.
Step 9: Launching and Promotion (The Repurposing Strategy)
You have successfully planned, recorded, edited, and uploaded your show. The moment your podcast goes live is cause for celebration. But hitting “publish” is just the beginning of the journey. In today’s crowded media ecosystem, simply building a great show does not guarantee that an audience will find it. You have to actively guide them to it.
The Power of the Trailer
Before launching your full batch of episodes, consider releasing a two-minute “Trailer” episode. This gives you something tangible to share on social media to build hype, and it allows you to ensure your RSS feed is working correctly across all platforms before your official launch day.
Repurposing Content for Growth
Telling people “Go listen to my 45-minute audio podcast” on social media is a highly ineffective marketing strategy. People scrolling through their feeds are looking for immediate, bite-sized entertainment or value, not a link that takes them away to a long-form audio app.
The most effective, highest-ROI growth channel for new shows today is repurposing. This involves taking your long-form episode and cutting it into 30-to-60-second, highly engaging vertical video clips for Instagram Reels, YouTube Shorts, and TikTok.
When a compelling, inspiring clip catches someone’s attention on their feed, they are highly likely to seek out the full conversation. This is exactly why recording video from day one is so critical—it fuels your entire social media marketing engine. At Drake Media Studios, our team specializes in comprehensive Media Distribution, helping creators and brands take their core broadcast content and optimize it for maximum reach across all digital platforms.
Engage Your Guests’ Networks
If you are doing an interview show, your guests are your best marketing assets. Make it incredibly easy for them to share their episode. Do not just send them a link; send them an email with pre-written social media copy, the customized short-form video clips you created, and the cover art. When they share the episode with their established audience, you gain instant credibility and new listeners.
Step 10: Scaling Up and Elevating Your Production
Starting a podcast requires courage, planning, and a willingness to learn. Whether you are aiming to inspire a community with stories of resilience and personal growth, or you are a business owner building a branded asset to connect with clients, the most important step is simply beginning.
You can absolutely start small. Prove your concept using affordable gear, record in your home, and focus on delivering genuine value to your listener. But as your audience grows, your production capabilities should grow with it. When you are ready to stop fighting with lighting stands, when you are tired of editing out the sound of the neighbor’s lawnmower, and when you want to elevate your show to true broadcast standards, you do not have to build a studio yourself.
For creators in the New York metro area, Drake Media Studios offers a seamless transition from amateur recording to professional broadcasting. You get the credibility of being associated with a nationally broadcast media brand, access to state-of-the-art multi-camera setups, and a team that knows exactly what great production looks like.
Are you ready to record your first episodes with absolute confidence? Let’s bring your story to life. Explore our Podcast & Vodcasting capabilities today, and step into a studio designed to amplify your voice.
Frequently Asked Questions (FAQ)
Q: How much does it cost to start a podcast? A: Starting a podcast can cost anywhere from $0 to over $1,000. You can legitimately launch for free using just the voice memo app on your smartphone and a free hosting plan. However, a solid beginner setup—which includes a reliable USB microphone, closed-back headphones, and free editing software—usually runs about $150 to $300. For businesses and serious creators who want top-tier quality without purchasing thousands of dollars in gear, renting a professional studio allows you to skip buying equipment entirely while achieving instant broadcast quality.
Q: What equipment do I need to start a podcast? A: At a bare minimum, you need a microphone, a pair of headphones (to prevent audio bleed), and a computer or smartphone to record and edit the files. Adding an inexpensive pop filter and ensuring you are in a quiet, carpeted space will vastly improve your audio quality. If you are launching a video podcast (vodcast), you will additionally need cameras, appropriate lighting, and video editing software—or you can utilize a fully equipped studio that already has this infrastructure in place.
Q: How many episodes should I record before launching? A: Most successful shows batch four to five completed episodes before ever going live to the public. This strategy provides a vital buffer. It ensures that you can publish consistently through your first month without scrambling to record and edit at the last minute, which is the leading cause of “podfade” (creators burning out and quitting early).
Q: Do I need a studio to start a podcast? A: No, you absolutely do not need a studio to start—plenty of incredible shows begin in walk-in closets at home. However, booking a studio removes the two hardest parts for beginners: achieving clean, echo-free audio (which is very difficult in a standard room) and handling the complex setup of video with multiple cameras, proper lighting, and syncing. A studio lets you bypass technical frustration and focus entirely on your content.
Q: How do I get my podcast on Spotify and Apple? A: You do not upload directly to Apple or Spotify. Instead, you upload your audio files to a podcast hosting platform (such as Buzzsprout, Spotify for Creators, or Podbean). The host generates an RSS feed link for your show. You then take that RSS link and submit it once to the directories (Apple Podcasts, Spotify, Amazon). From then on, every time you publish an episode on your host, it automatically distributes to all major directories worldwide.
Q: Should I start an audio or a video podcast? A: video is definitively where the growth is. YouTube has become the top podcast platform globally, and a massive portion of listeners now prefer to watch their shows rather than just listen. Starting with video—or at the very least, recording a video feed that you can cut into short promotional clips for social media—gives you far more reach, better discoverability, and a significantly higher return on your production time.